Most sealing failures come from moisture or grease in the seal area, wrinkles, a bag placed incorrectly, dirty or worn gaskets, the wrong type of bag or a seal bar that needs to cool. Work through the checks below in order — they’re listed from most to least common.
1. Vacuum sealer not sealing
Symptoms: the bag vacuums but the seal line is incomplete, wrinkled, or peels open.
- Moisture or grease on the seal area. Wipe the inside of the bag mouth dry. Pre-freeze moist foods and use moist mode.
- Wrinkles. Stretch the bag flat across the seal bar before closing the lid.
- Seal bar too hot or too cool. If the seal looks melted or stringy, let the machine cool. If it looks faint, wait for it to warm up or use the double-seal setting.
- Worn seal tape. The PTFE (Teflon) strip over the heating element wears over time; if it’s torn or burnt, replace it as your manual describes.
- Lid not fully latched. Press both sides firmly until it locks.
2. Vacuum sealer losing suction
Symptoms: the pump runs but the bag doesn’t tighten, or the machine never moves on to sealing.
- Bag placement. The open end must sit inside the vacuum channel or drip tray, not just over the seal bar.
- Dirty or damaged gaskets. Food debris, flattened foam or cracked rubber breaks the airtight seal around the bag. Clean them, and replace them if they’re compressed or torn.
- Full drip tray or blocked vacuum port. Empty and clean it.
- Wrong bags. Smooth bags don’t have air channels; use embossed bags in an external sealer.
- Punctured bag. Check for holes from bones or sharp edges.
- Bag too wide or too short. Make sure it’s within your machine’s maximum width and long enough to reach the channel.
3. Bags not staying sealed (losing vacuum later)
Symptoms: the bag looks perfect at first, then goes loose in the fridge or freezer.
- Micro-punctures from bones, shell or frozen edges — pad them with paper towel or use thicker bags.
- A weak or contaminated seal — re-seal above the original line, or double-seal.
- Gas from the food. Cruciferous vegetables release gases; blanch and freeze them. A puffed bag of meat or fish can signal spoilage — throw it out.
- Rough handling while frozen. Frozen bags become brittle; don’t drop or pile heavy items on them.
4. Liquid getting into the machine
- Pre-freeze soups, sauces and marinated foods until solid before sealing.
- Use moist mode and pulse to stop the vacuum before liquid reaches the top.
- Leave more headspace and hang the bag over the counter edge so liquid stays at the bottom.
- Empty and clean the drip tray immediately after any spill; let everything dry before the next use.
- If you seal liquids often, a chamber sealer is designed for it. See how to vacuum seal liquids.
5. Sealer overheating
Most compact external sealers aren’t built for continuous use. Inkbird’s INK-VS02 manual, for example, recommends letting the machine cool for 15–20 minutes during long sessions. If your sealer shuts off, smells hot or starts producing melted seals:
- Unplug it and leave the lid open to cool.
- Follow the rest time in your manual between seals.
- For bulk sessions, consider a machine with a cooling fan or a rating for back-to-back seals — see our bulk-meat pick.
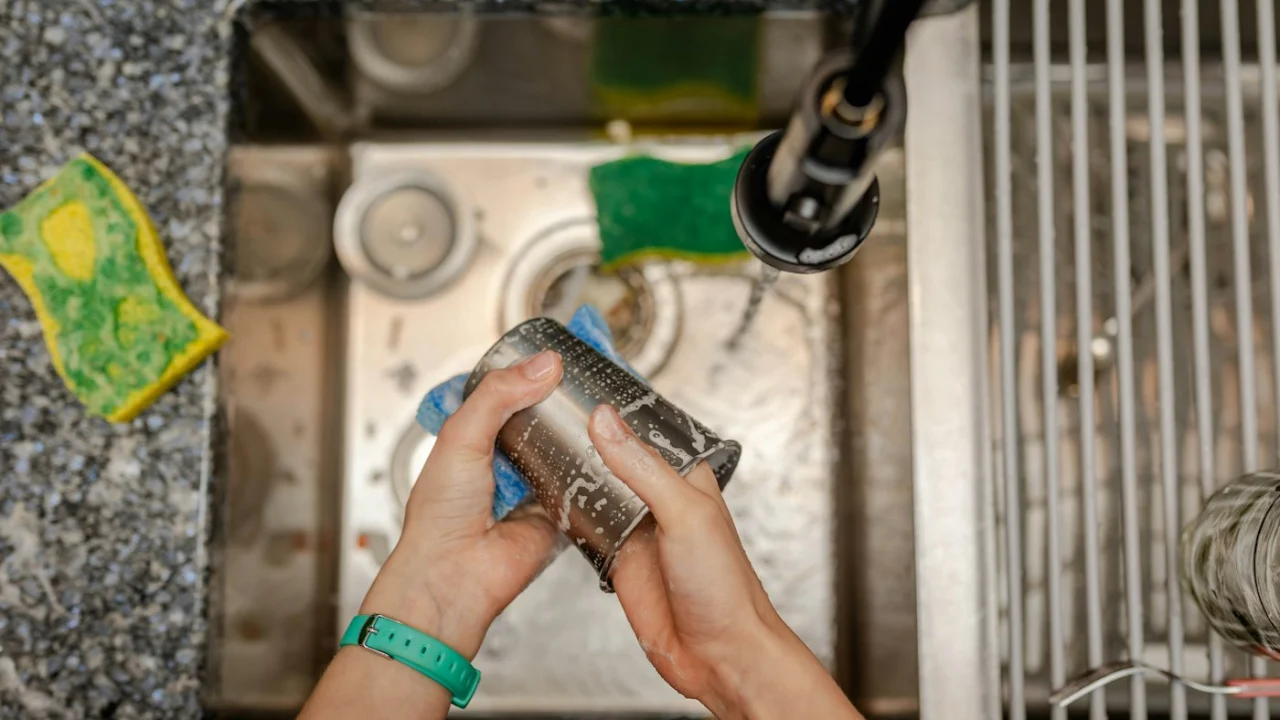
6. How to clean the sealing strips and gaskets
- Unplug the sealer and let the seal bar cool completely.
- Remove the drip tray (if removable) and wash it in warm, soapy water; dry thoroughly.
- Wipe the foam or rubber gaskets gently with a damp cloth and mild soap. Don’t pull or twist them. Some gaskets can be removed — check your manual.
- Wipe the seal bar strip with a soft, damp cloth. Never use abrasive pads or sharp tools on it.
- Let everything air-dry before reassembling.
- Store the machine with the lid unlatched so gaskets don’t stay compressed.
Never immerse the main unit in water.
7. Choosing the right bag
Many “broken” sealers are actually using the wrong bags. External sealers need embossed/textured bags within the machine’s maximum width; chamber sealers use smooth pouches. Thin or low-quality bags may seal poorly or puncture. Read the vacuum sealer bags buying guide.
Routine maintenance checklist
- After each session: empty and clean the drip tray; wipe the channel.
- Monthly (regular users): inspect gaskets and seal tape for wear.
- Chamber sealers with oil pumps: change the oil as the manufacturer specifies.
- Replace worn gaskets and seal tape with manufacturer parts.
When to repair or replace
If you’ve cleaned the gaskets, replaced worn parts, used the correct bags and the pump still doesn’t build vacuum, contact the manufacturer — the unit may still be under warranty. Warranties on popular models range from one to five years.
Frequently asked questions
Why does my vacuum sealer vacuum but not seal?
Usually the seal area is damp or greasy, the bag is wrinkled, the lid isn’t fully latched, or the seal bar or its tape is worn. Dry the bag mouth, flatten it and try the double-seal setting.
Why won't my vacuum sealer pull a vacuum?
Check bag placement in the vacuum channel, clean or replace the gaskets, empty the drip tray, and make sure you’re using embossed bags without punctures.
How often should I replace vacuum sealer gaskets?
Replace them when they look flattened, cracked or torn, or when suction drops despite cleaning. Heavy users will need replacements sooner.