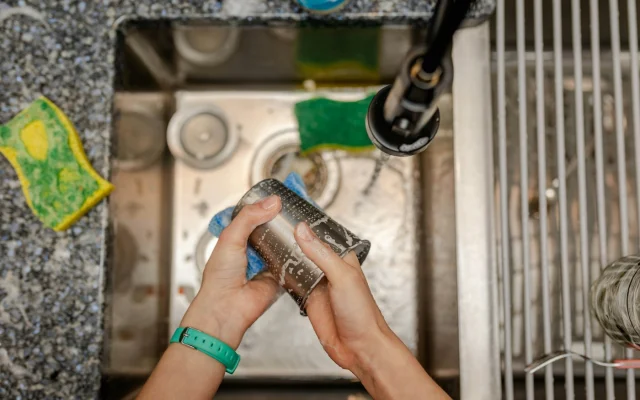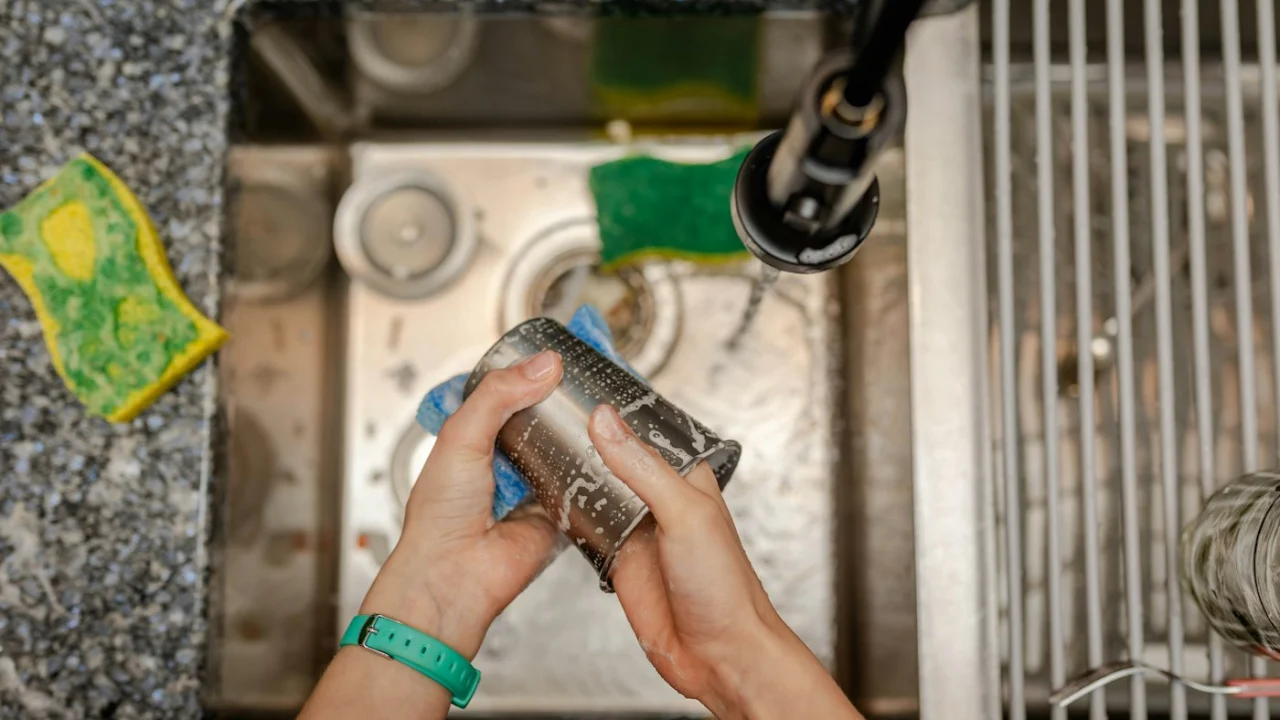
After each use: unplug, let it cool, empty and wash the drip tray, and wipe the vacuum channel and gaskets with a damp cloth. Let everything dry and store the sealer with the lid unlatched. Replace gaskets and seal tape when they look flattened, cracked or burnt.
Why cleaning matters
Most “broken” vacuum sealers are actually dirty or worn. Food debris on gaskets breaks the airtight seal, residue on the seal bar causes weak or patchy seals, and liquid in the channel can reach the pump. A two-minute routine prevents most problems in our troubleshooting guide.
What you’ll need
- A soft cloth or sponge
- Warm water and mild dish soap
- Cotton swabs for tight corners
- Paper towels
How to clean an external (suction) vacuum sealer
- Unplug the sealer and let the seal bar cool completely.
- Remove the drip tray if it’s removable. Wash in warm, soapy water (check whether it’s dishwasher-safe), rinse and dry.
- Wipe the vacuum channel with a damp, soapy cloth, then a clean damp cloth. Use a cotton swab around the vacuum port — don’t push debris into it.
- Clean the gaskets gently — the foam or rubber strips around the channel. Wipe; don’t twist or pull. Some lift out for washing; check your manual.
- Wipe the seal bar with a soft damp cloth. Never use abrasive pads or scrape it.
- Wipe the exterior and lid.
- Dry everything and leave the lid open until fully dry.
Never immerse the main unit in water or run it under the tap. Unplug before cleaning.
Cleaning a chamber vacuum sealer
- Wipe the chamber and lid after each session; clean up liquid spills immediately.
- Clean the lid gasket and check it for cracks.
- Wipe the seal bar; replace the seal tape when it’s worn.
- Oil-pump models (e.g. VacMaster VP215): change the oil on the schedule in your manual. Dry-pump models (Anova Precision Chamber, VacMaster VP112S, PolyScience 300) don’t need oil.
Maintenance schedule
| When | Task |
|---|---|
| After every session | Empty and wash drip tray; wipe channel, gaskets and seal bar; dry with lid open |
| Monthly (regular users) | Inspect gaskets for flattening or cracks; check seal tape for burns or tears |
| As needed | Replace gaskets and seal tape with manufacturer parts |
| Per manual | Change pump oil (oil-pump chamber sealers only) |
Signs your sealer needs parts
- Suction drops even after cleaning — gaskets are probably worn.
- Seals look patchy or melted — the seal tape or heating wire needs attention.
- Error codes on VacMaster machines — see VacMaster E01/E02 fixes.
Find replacement gaskets on Amazon (opens Amazon in a new tab)
Storage tips
Store the sealer with the lid unlatched so gaskets don’t stay compressed, keep it somewhere dry, and keep the cord loosely coiled.
Frequently asked questions
Can I put my vacuum sealer drip tray in the dishwasher?
Some are dishwasher-safe and some aren’t — check your manual. When in doubt, hand-wash in warm, soapy water.
How often should vacuum sealer gaskets be replaced?
When they’re flattened, cracked or torn, or when suction drops despite cleaning. Heavy users may need new gaskets every year or two.
What happens if liquid gets into my vacuum sealer?
Unplug it, empty and wash the drip tray, wipe the channel and gaskets, and let everything dry fully before using it again.